- How to create a title
- How to reset the machine
- How to join (aka "weld") letters together
- That I messed up my cutting mat in the first try through
- What different blade/pressure settings to use for SU card stock and thinner scrapbook pages
- How NOT to mess up my cutting mat the next time
- The approximate amount of intricacy on cut design (this differs depending on how stick your cutting mat is - if it's not sticky enough, more intricate designs don't work so well - watch for some pictures in future blogs)
- How to vectorize imported clip art
- What "vectorize" means...
- And that my memory isn't what it used to be... hmph! (After watching the tutorials - I have to go watch it again before I can successfully take the steps it just explained! hmph!)
So, let's start with the first few lessons... I've been watching tutorials on Pazzles.com and with the software that comes with the machine... and it's been ever so helpful! Both places for tutorials are very specific and detailed... and while I'm following it, sometimes I don't know what I'm accomplishing. Some of the instructions say "click on B"... so I do. But I don't know "WHY" I clicked on "B"... and I'm a "why" person... so, I'll keep playing and maybe eventually I'll figure it out. In the meantime... I need to get my hands on it. Play and learn... play and learn... you don't learn unless you put yourself out there.
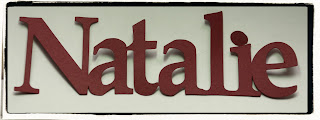
I sat down in front of the computer, started up the software, picked my font, found some cardstock and measured it. Then I opened a new document and entered my information: size of paper. A blank screen opened in front of me... and I typed a word. I manipulated my text graphic (changing font, size of graphic, welded the letters together, etc) and clicked on "cut project". Voila...

And this font is really nice... although the "K" is in two pieces (I'm not sure yet if I could've welded that to the other part of the "K" - but you know it's on my "to learn" list). This doesn't really cause a problem... because problem easily fixed. And I can use the negative image as well.... right? Looks great!

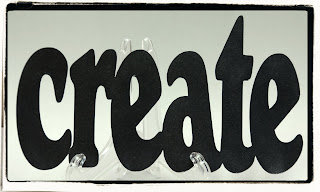
Next, I want to play with another font style. So, I pick another color of paper, measure it, create a new document... and start the process over again.

And then I wanted to make something for my desk...

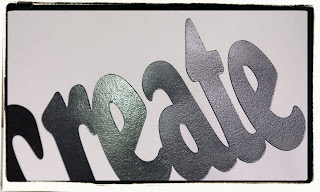
And I moved back to the stamp table... I want to give it some gloss. So, I pulled out the Versamark pad and the clear embossing powder. I hit the whole word with the Versamark pad and got it all sticky. And then dredged it through the embossing powder and hit it with the heat gun. See the gloss? I will now mount this to something near my work station...

And for today... that's enough. I learned, I cut, I conquered... stay tuned for more from my new Pazzles studio...

1 comment:
Hi Lori,
I found your post while I was looking for help.
I'm trying to reset my Pazzles and saw you had learnt how to do that.
Could you please let me know as I can't find it anywhere!
My machine wont work, its got power but no lights.
Thanks so much!
lgrozdan@tpg.com.au
Post a Comment